
Wykonaj poniższe kroki, aby zaktualizować obecne dystro Debian do najnowszego:
Krok 1 – Utwórz kopię zapasową systemu
Bardzo ważny krok, przed dokonaniem jakichkolwiek zmian w systemie zalecane jest wykonanie kopii zapasowej. Istnieje wiele podejść do tworzenia kopii zapasowych danych, możesz użyć rsync lub innego narzędzia, takiego jak back in time do tworzenia kopii zapasowych
Aby zainstalować backintime pakiet na Debianie użyj:
sudo apt install backintime-qt4 Po pomyślnym zainstalowaniu pakietu. Uruchom aplikację i wykonaj kopię zapasową.
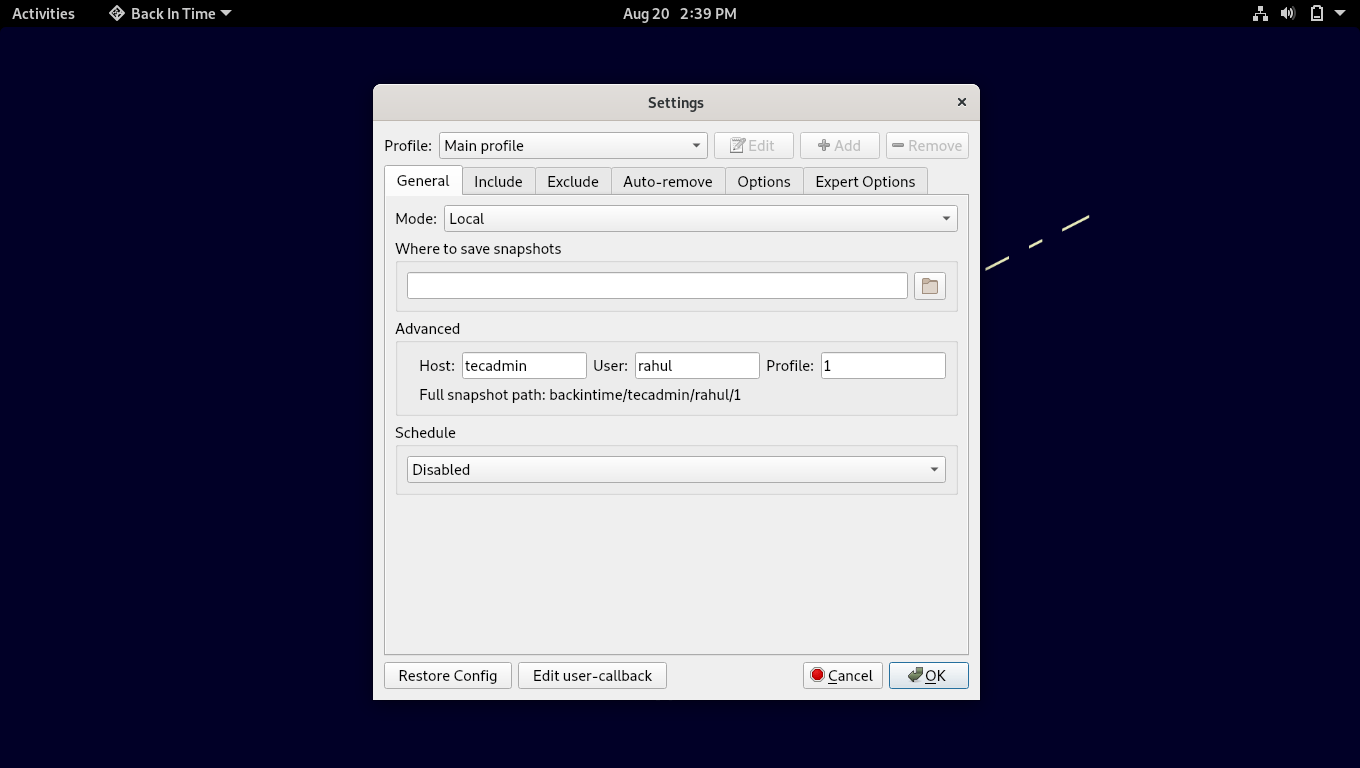
Dobrze będzie wykonać kopię zapasową wszystkich najważniejszych danych na dysku zapasowym lub zdalnym hoście.
Krok 2 – Zaktualizuj plik /etc/apt/sources.list
Sposób 1
Teraz edytuj plik konfiguracyjny apt Debiana /etc/apt/sources.list i zamień wszystkie ” buster” na „bullseye”, aby uzyskać pakiety Debiana 12. Użyj polecenia sed, aby zastąpić wszystkie wystąpienia jednocześnie w następujący sposób:
sudo cp /etc/apt/sources.list /etc/apt/sources.list.orig
sudo sed -i 's/bullseye/bookworm/g’ /etc/apt/sources.list
Sposób 2
Wszystkie szczegóły konfiguracji repozytoriów pakietów są przechowywane w pliku /etc/apt/sources.list. Dlatego dobrym pomysłem jest posiadanie kopii zapasowej tego pliku. Utwórz kopię zapasową pliku /etc/apt/sources.list używając:
sudo cp /etc/apt/sources.list /etc/apt/sources.list.bak Teraz otwórz plik w nano lub jakimkolwiek innym edytorze:
sudo nano /etc/apt/sources.list 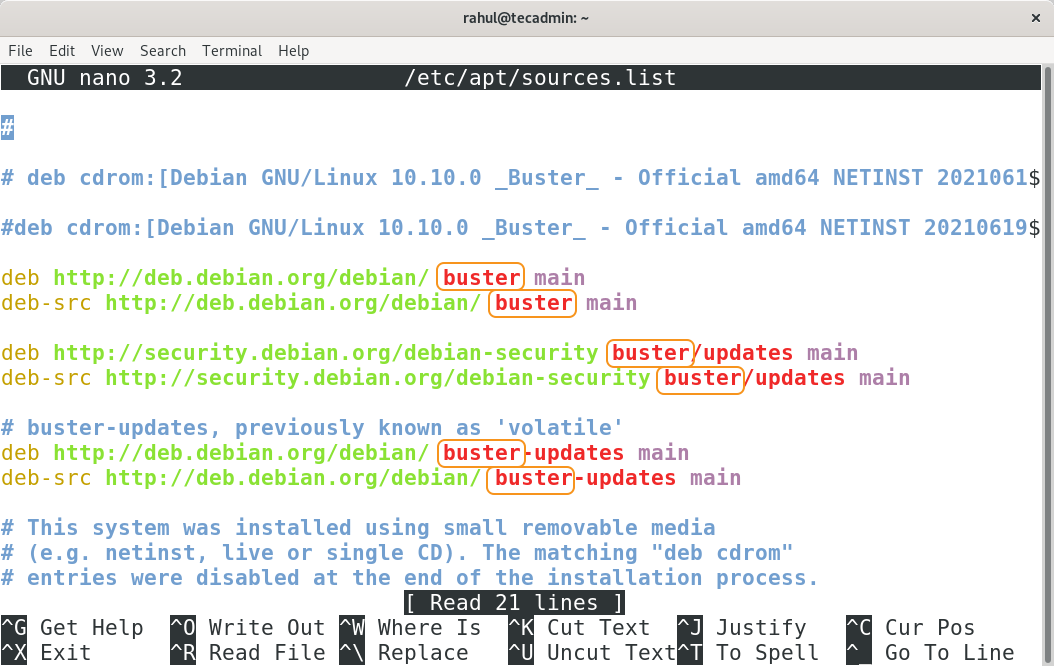
W pliku zamień słowo „buster” na „bullseye”.
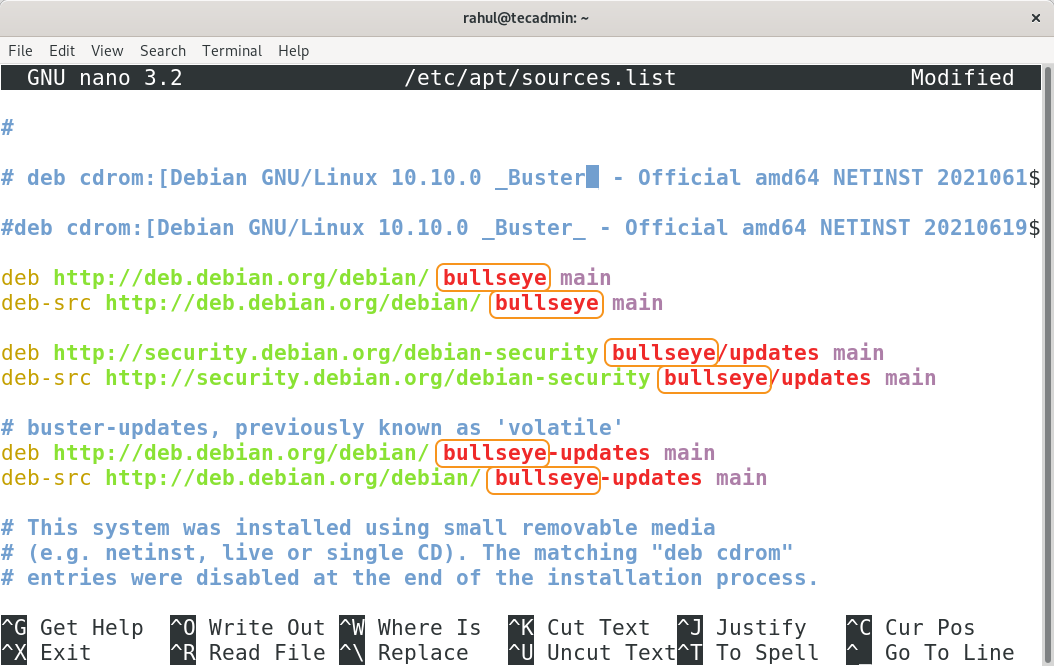
Teraz zapisz i zamknij plik.
Below is an example of a sources.list for Debian 11/Bookworm.
deb http://deb.debian.org/debian bookworm main non-free-firmware
deb-src http://deb.debian.org/debian bookworm main non-free-firmware

deb http://deb.debian.org/debian-security/ bookworm-security main non-free-firmware
deb-src http://deb.debian.org/debian-security/ bookworm-security main non-free-firmware

deb http://deb.debian.org/debian bookworm-updates main non-free-firmware
deb-src http://deb.debian.org/debian bookworm-updates main non-free-firmware
Step 3 – Run Upgrade Debian 11 to Debian 12
As you have updated the the repository references to the Debian 11. Now, update the packages list using:
sudo apt update Then, update the software packages by executing the following command.
sudo apt upgrade 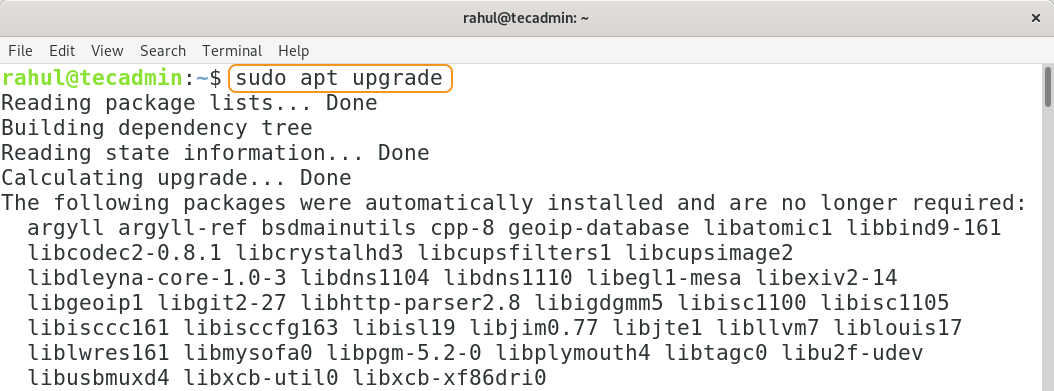
While upgrading you may encounter with following prompt:
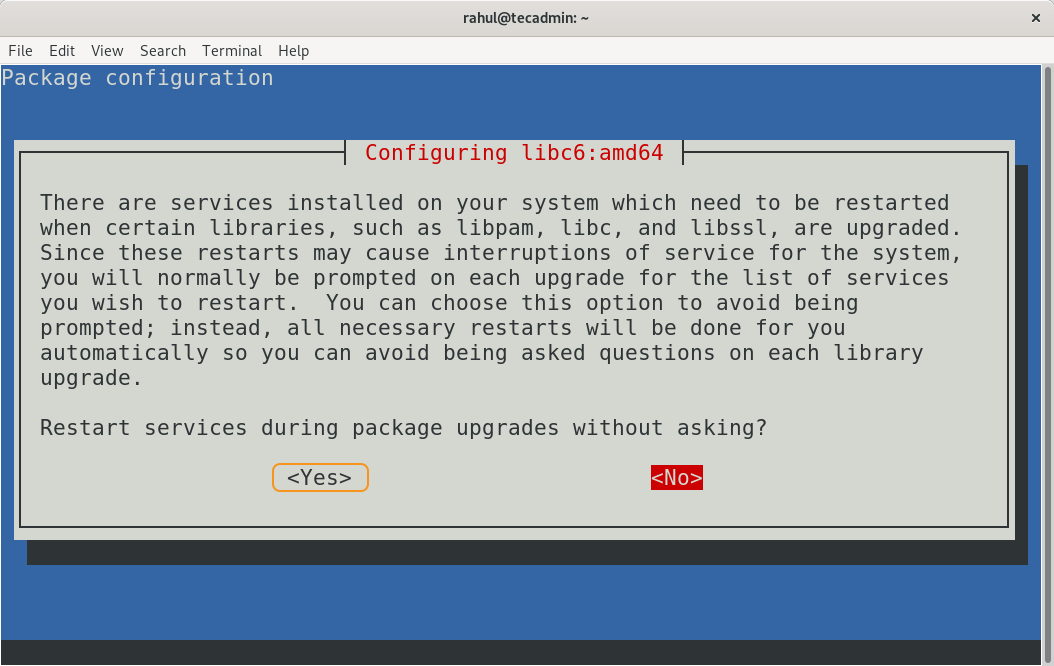
Select “<Yes>” and press Enter, all the packages will be upgraded and it may take time. Next step is upgrading the distribution by running:
sudo apt dist-upgrade 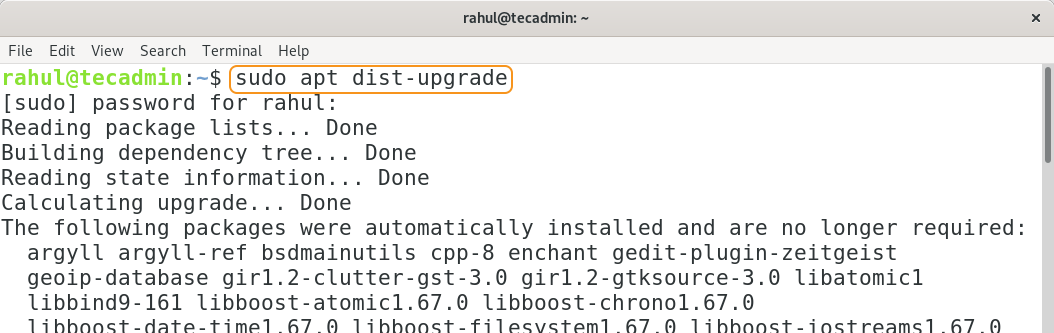
Now distribution will update from Debian version 10 Buster to Debian version 11 Bullseys. After updating use the below-mentioned command to check the version:
lsb_release -a 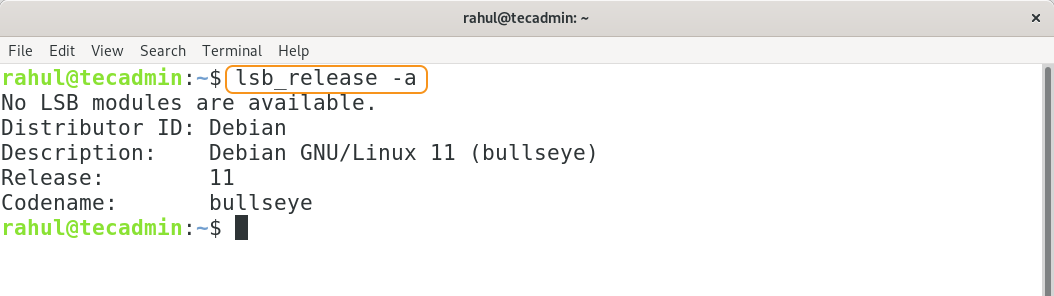
Step 4 – Rebooting the system
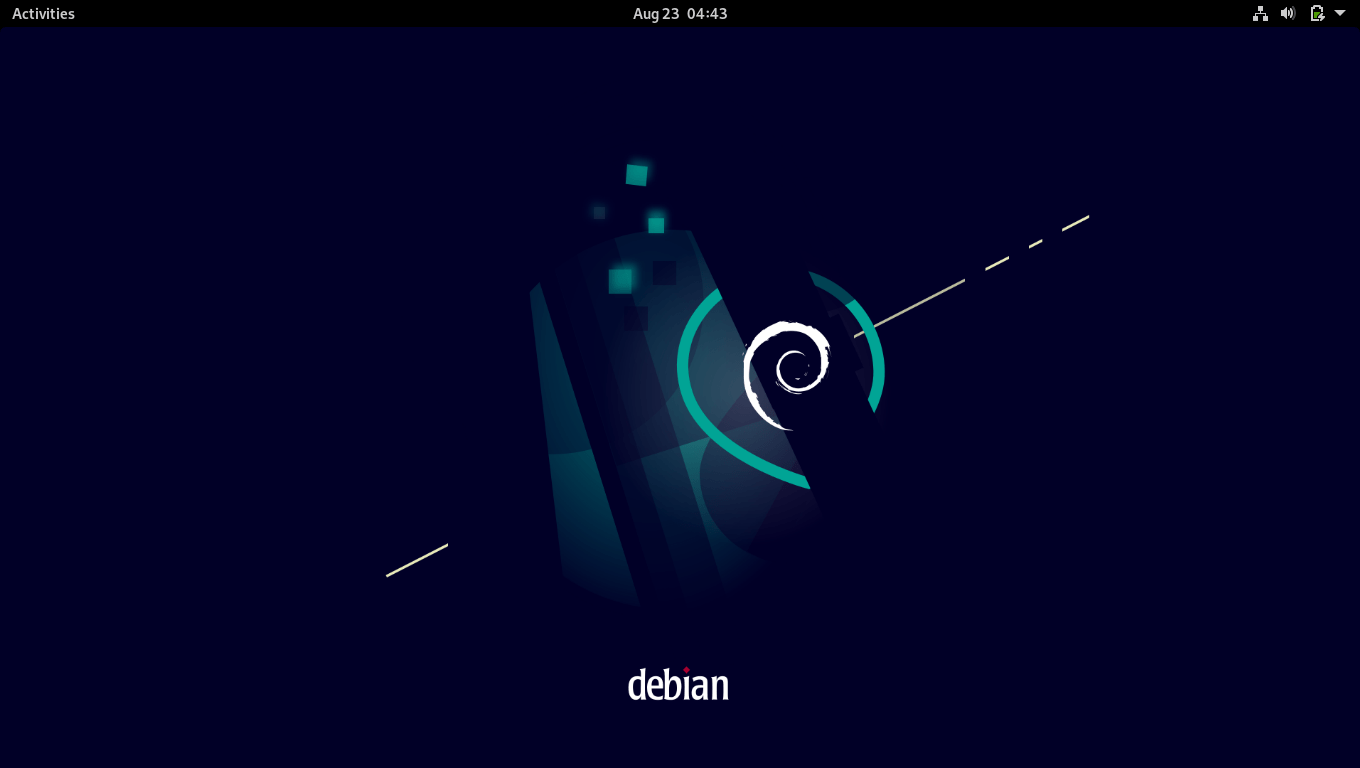
Though the distribution has been updated but the theme is still not updated, for that restart the system:
sudo reboot The theme will be changed after restarting the system as shown below:
Step 5 – Verification
Use the below-mentioned command to check the Debian version:
hostnamectl 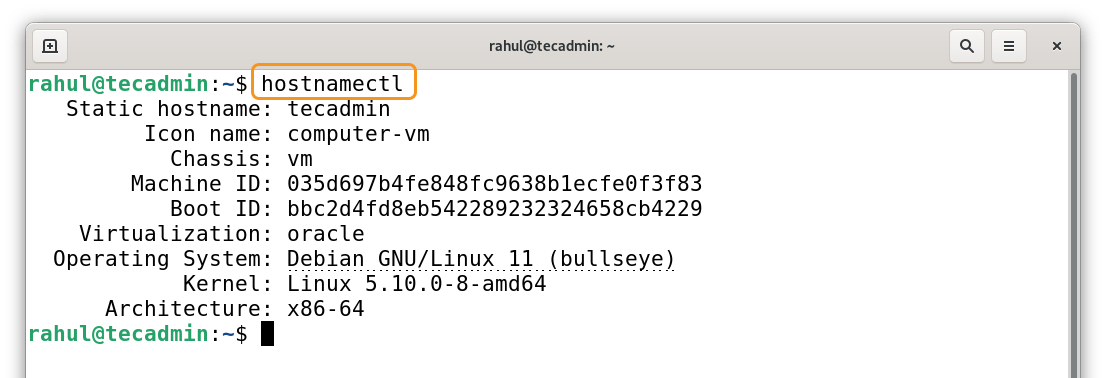
Step 6 – Run Cleanup
Though this step is optional but it is good practice to erase the unwanted packages after update; use the below-mentioned command to erase the unwanted packages:
sudo apt --purge autoremove Conclusion
Debian 11 Bullseye comes with many new features, including thousands of new packages, driverless printing and scanning support, improved manual pages, and removal of obsolete packages. These significant enhancements make it certain for every Debian user to update. This write-up is assisting the Debian 10 users to update their distribution to the current version of Debian. It is very crucial to back up your valuable files before making any of the above-mentioned changes.
Źródło: Link